Modern Website Motion
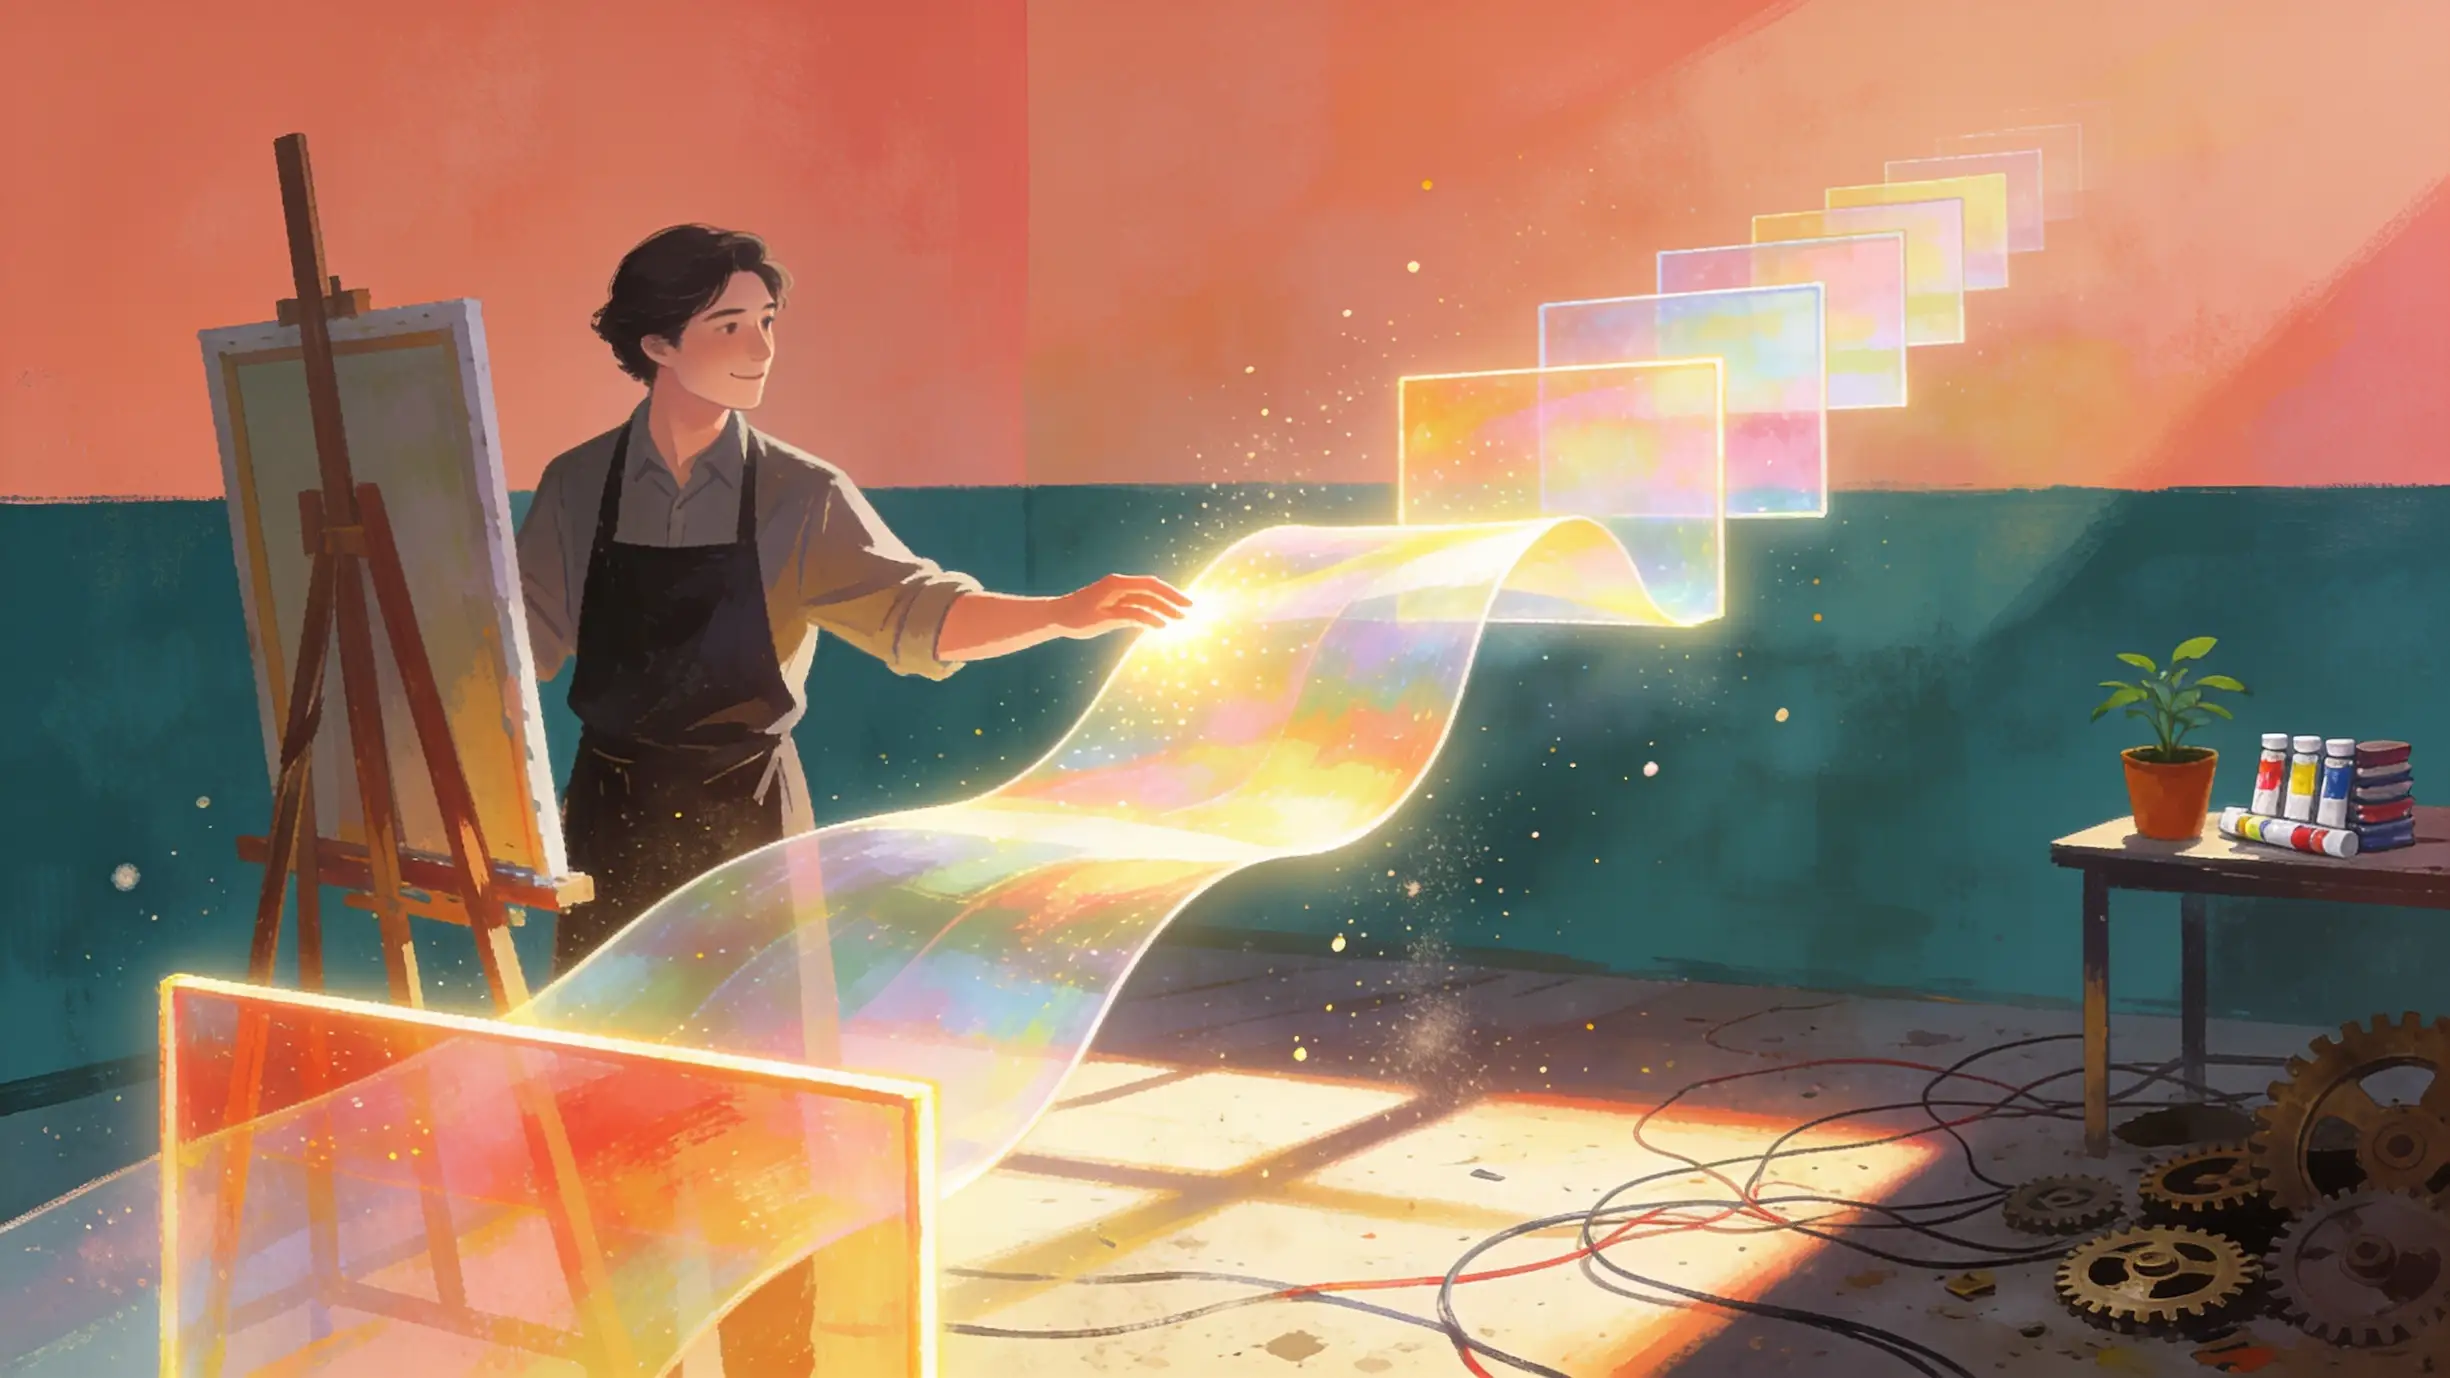
A clean, modern website with motion that actually feels alive. Smooth parallax layers, great features, and a layout that flows like it was crafted by a full design team. This is what a modern website looks like when animations and aesthetics work together. It’s often said your website gets judged in milliseconds, with people instantly deciding whether it feels premium or outdated. Most sites either function well or look good. Very few actually achieve both. Building a polished site with animation normally takes weeks of messy tweaking and trial and error. Recently, you may have seen people on X (Twitter) claiming they used Gemini 3 Pro to build stunning animated websites.
Most of those are not AI built at all. They are crafted by professional designers, polished manually, and then marketed as AI creations for engagement.
Parallax Animation
Instead of chasing fake examples, today I’m going to show you something actually feasible: a simple, clean, genuine parallax animation. The kind of effect you can build right now using Google’s free AI tools. No fake demos, no secret design team. Google Whisk with Nano Banana generates your visual layers. Google Flow adds motion, and Firebase Studio turns everything into a real, responsive parallax website that moves as you scroll. By the end of this video, you’ll know exactly how to build a modern animated parallax site, clean, fast, and professional, using AI tools anyone can access today for free.
When it comes to modern websites, aesthetics aren’t just decoration. They shape perception, trust, and how long users stay. Today, animations are a core part of that. Smooth transitions, parallax, depth, and layered motion make a site feel premium and alive. But in the past, building an animated website was painful. You needed design expertise, front-end coding skills, and countless hours of tuning just to make animations look clean. Creating something modern and intentional could take days or
How Google AI Helps
weeks. That’s totally different with Google AI tools like Google Whisk, Nano Banana, Google Flow, and Firebase Studio. Creating high-end animated websites is dramatically easier. These tools generate your visuals, create motion graphics, and assemble parallax-ready layouts, all without fighting code. What used to require a full design and dev workflow can now be built in hours with professional results. Google’s free AI tools turn high-end animated website creation from a slow technical challenge into a fast, accessible, repeatable workflow.
4-Step Workflow
Here’s the simple workflow behind creating an animated website with parallax motion. We start with Nano Banana, which generates the first and last frame of the visuals. Then Google Whisk takes over, using those two frames as the visual anchors, defining the look, tone, and direction of the entire animation. Everything that follows is built from these two reference points. Then we take those frames into Google Flow (Veo 3.1) to generate the actual animation. Flow creates the motion between the two frames, adding subtle depth, movement, and transitions that make the design feel alive. This is where the website starts to gain that smooth, modern animated feel.
Once the animation is ready, we move into Firebase Studio to build the website itself. This is where we structure the page, set the scrolling behavior, and apply the parallax effect. Your visuals, motion, and layout all come together into a clean, responsive site that feels premium from the first scroll. The workflow is straightforward: Google Whisk with Nano Banana for the frames, then Flow for the animation, then Firebase Studio for the parallax website. It’s a simple, fast process that produces a high-end animated site without much complexity.
We’re building a modern animated soda website from scratch using clean visuals, structured layout, and smooth motion to make everything feel polished and intentional. By the end of this build, you won’t just have one website. You’ll have a repeatable method for creating clean animated sites that look premium from the first scroll and convert through clarity, motion, and
Step #1: Google Whisk (Nano Banana)
design. We start building a clean, modern aesthetic website from scratch. Before we touch layouts, typography, or animation, we need one thing most people skip, which is a clear visual direction. Most people struggle to make websites look good because they jump straight into building without deciding the vibe first. Colors, lighting, texture, everything ends up inconsistent. In this first step, we’re going to use Nano Banana inside Google Whisk to define the visual foundation of our site. You can think of this step like choosing the color tone and lighting before a photo shoot. If you get this right, everything else becomes easy.
We can go inside Google Whisk. This is where we use Nano Banana to generate the image assets which we will animate later. Let’s open our prompt document. This contains the guide for the visuals we want. If you want a copy of this prompt, you can check out our free community (link in the description), where you can also find other prompts we’ve used throughout our videos. Here we grab the starting frame prompt, which defines the base style, like the lighting, mood, and composition our entire site will follow.
We can just copy it, paste it into the prompt box. Next, we’ll upload the Olipop reference image, and this gives Nano Banana a clear direction, helping it stay consistent in colors, texture, and modern product style aesthetics. Once we hit enter, the model generates our first batch of assets. As the images load on screen, we’re checking for the things that matter in aesthetic design, like clean lighting, balanced spacing, clear focal points, soft modern color tones, and so on. Once the results look aligned with our intended vibe, we simply download the images, and this becomes the basis of the motion assets and page visuals later in the build.
Step #2: Google Flow (Veo 3.1)
Next we’ll do the same for our end frame. We open our prompt document, copy the end frame prompt, and paste it into Nano Banana. For our website, we’ll use three flavors. We do the same thing and generate the rest of our product images.
Now we have the first building blocks of our aesthetic website: a clean visual direction and a set of consistent on-brand image assets. Next we’ll take these visuals and turn them into real structure on the page. Because great design isn’t just how something looks, it’s how it moves. Right now our images are still completely static, and looks on paper don’t matter unless they turn into real structure and motion on the page. This next step is where we start shaping that movement.
We’re using Google Flow with Veo 3.1‘s frame-to-video mode. You can think of this like taking your mood board and turning it into the first sketch in motion. Let’s open Google Flow and start a fresh project. Once it loads, you’ll see the scene builder. This is our workspace, and below the canvas is a prompt box, with the generation mode next to it. It starts in text-to-video by default, and we switch it to frames-to-video. Now we upload the image sequence, the starting frame and the end frame, which helps the animation play out in the right order.
Next we open our prompt document again and copy the motion prompt, then paste it into the prompt box. This tells Flow how the animation should behave, like smooth pacing, subtle transitions, and a modern premium feel. It’s applying our style guide to movement. Now we hit enter and let Veo 3.1 process the animation.
Step #3: Convert Video to Webp
But before we can use these videos on our website, we have to first turn them into webp. This is what adds interactivity to our video as visitors scroll through the website, while still keeping things lightweight enough to load quickly. Turning the videos into webp is simple and quick. We don’t need a specific tool for this; we use a website called EZGIF. First we upload the video we generated in Google Flow, and all you need to do next is make sure the start time and end time cover the entire video.
Then we can set the size to original and choose the frame rate closest to the native fps shown by EZGIF. This is the sweet spot: not low quality, but the file size isn’t as big as when it’s maxed out either, keeping it lightweight enough for the browser. Also make sure “loop forever” is checked before converting your video to webp. As you can see, this is how the final output looks. The quality is lower than the original video. For simplicity, we’ll use it without upscaling so we can quickly move on to the most important step: creating the website.
Step #4: Firebase Studio
Now that we have all the necessary assets, it’s time for the final step: turning all that design direction into a real website. At the end of the day, beautiful ideas don’t mean much until they become real structure on the page. This is where Firebase Studio comes in. This is the moment we start shaping the actual layout, like taking your mood board and turning it into the first sketch on the canvas.
Now we go to Firebase Studio. This is the builder that transforms our design direction into a functioning website. This is the bridge where colors, spacing, imagery, and layout begin to take shape in real code. Let’s open our prompt document again and copy the Firebase prompt. We paste it into the prompt box, and this prompt carries all the visual decisions we made earlier.
We press enter, and Firebase Studio starts analyzing the prompt. Once it’s done, we click “prototype this app,” and Firebase Studio begins writing every line of code for our website. This part takes a couple of minutes. This is where spacing rules, structure, and component layouts all come together behind the scenes. When the prototype is ready, we can preview it. You’ll notice Firebase already added placeholder images, clean but not our actual visual assets. This is where we bring in the imagery we designed in Nano Banana and animated in Google Flow.
Final Verdict
You’ve just seen how easy it is to build a modern animated website using today’s free Google AI tools. Effects that used to take weeks of design and coding can now be done in hours with a simple, repeatable workflow. Once you understand the flow, frames, motion, parallax, you can build websites that feel intentional, premium, and alive. If you want to keep going and learn how to build professional websites and full apps with AI, join our community. It’s a place where builders and founders share ideas, learn from our project breakdowns, and grow together through real AI website and web app builds.