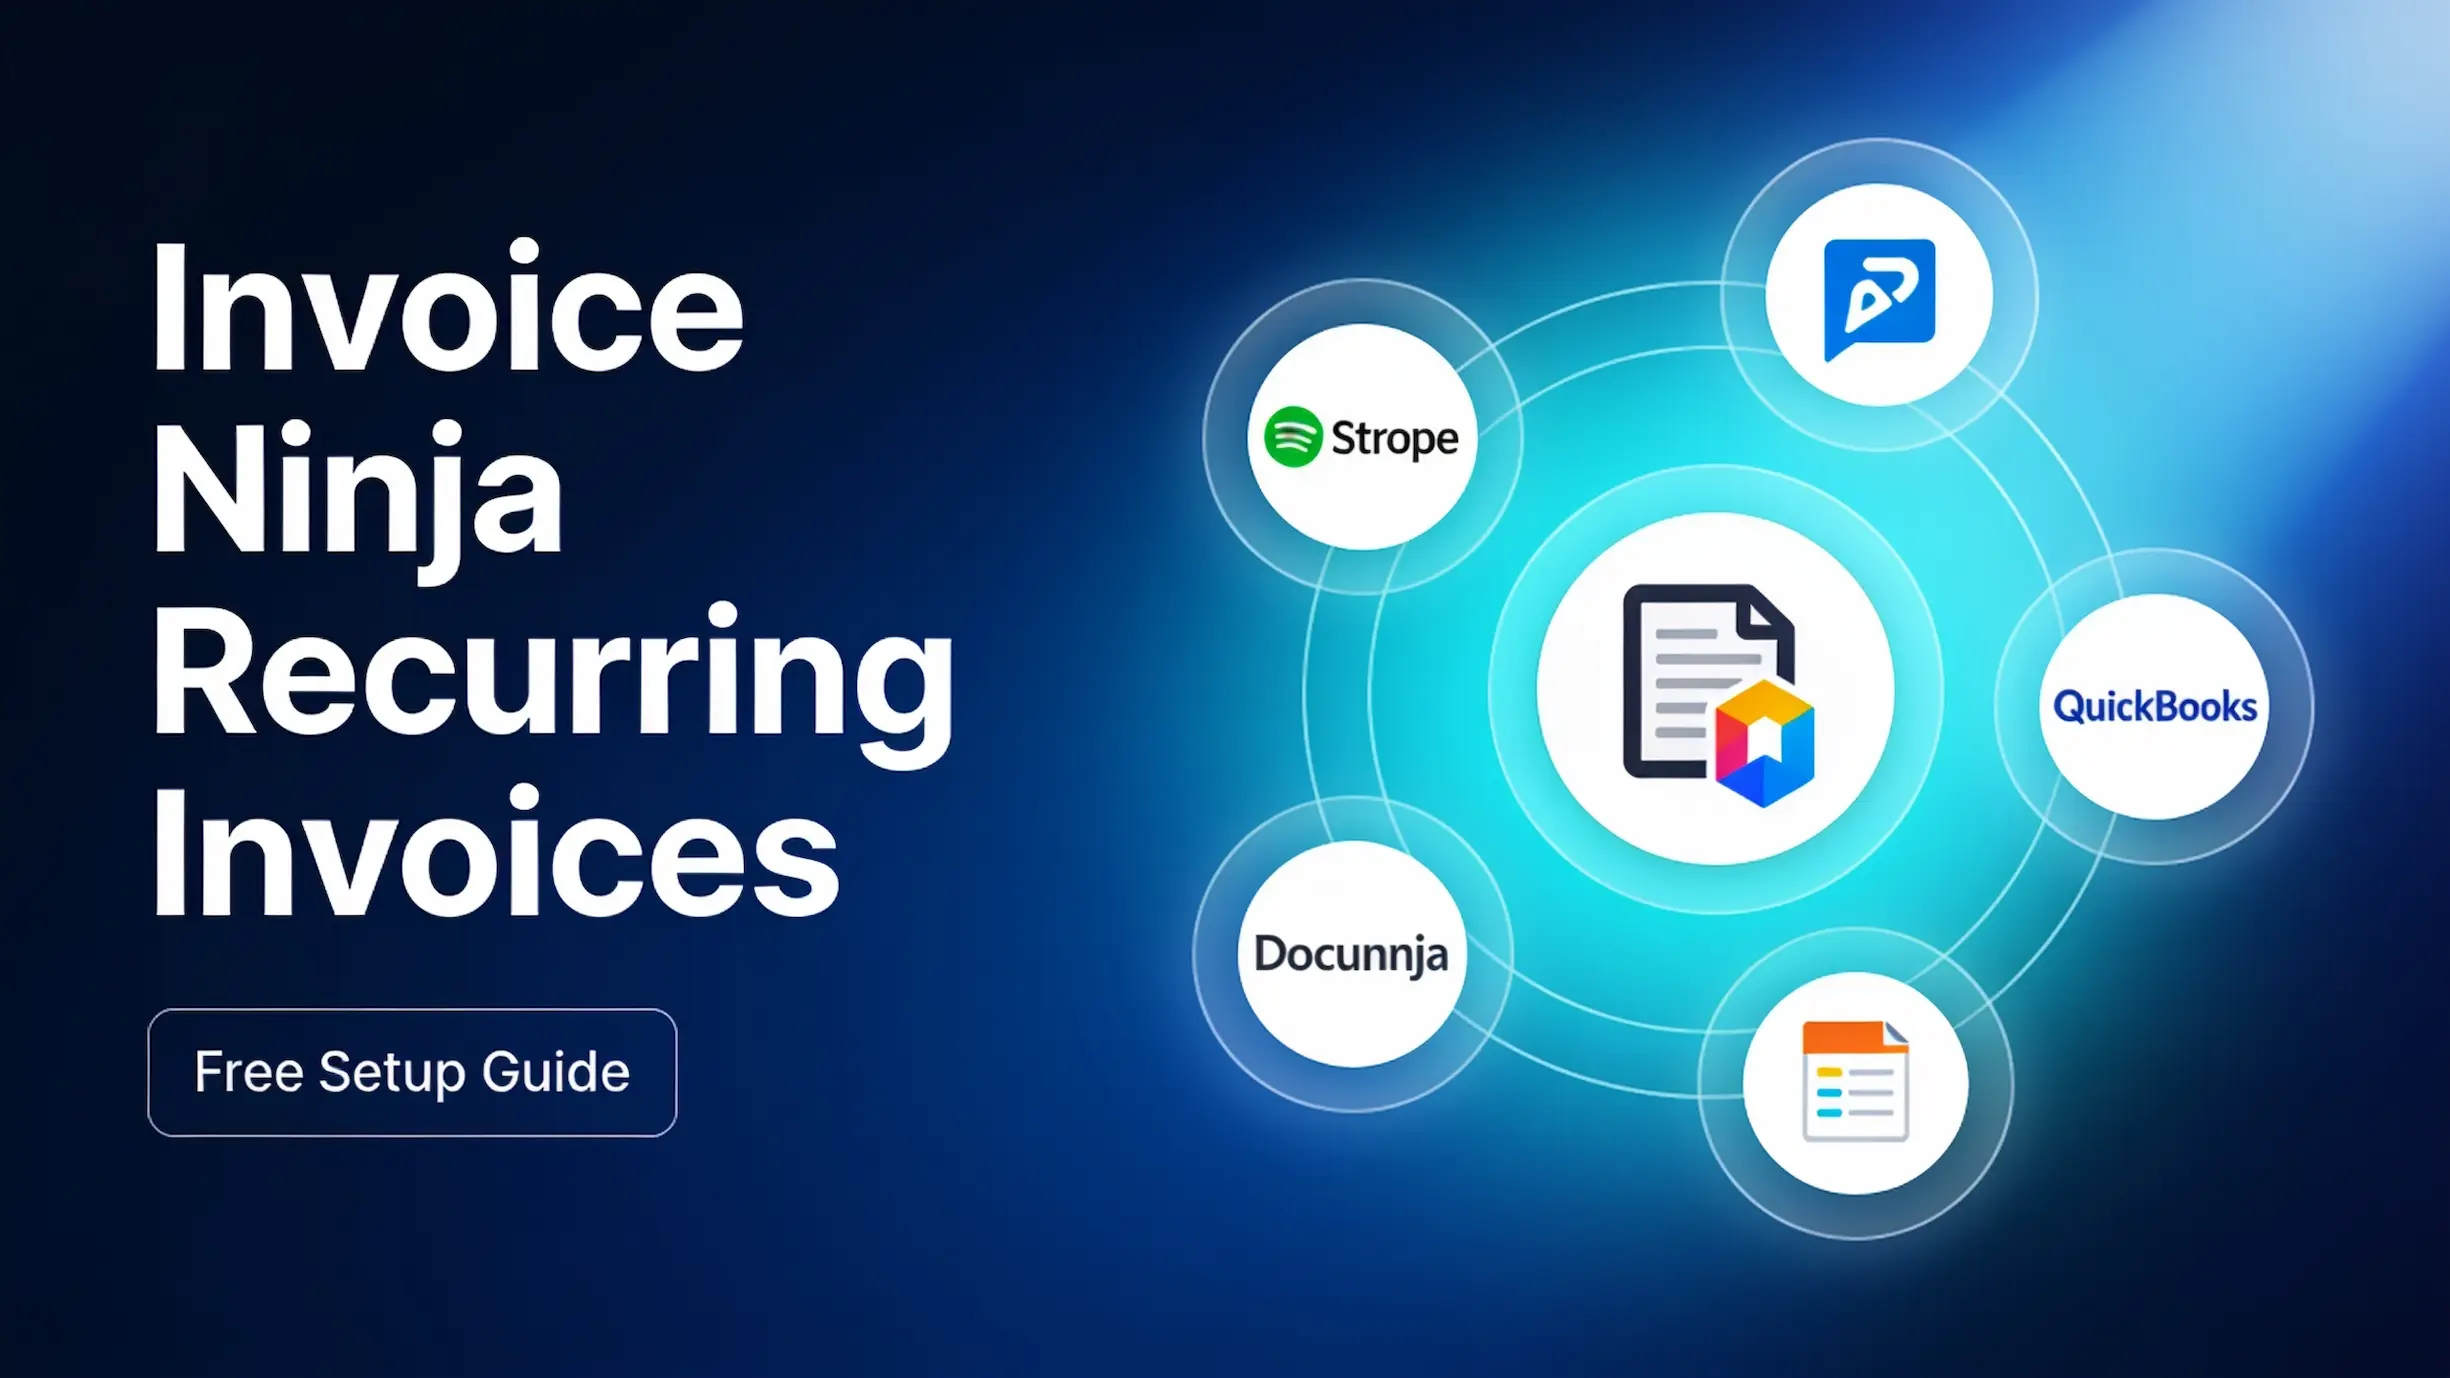
Introduction to Invoice Ninja
If you’re still using Word or Excel to send invoices, you’re probably making it harder for people to pay you. This tutorial shows how to set up and use Invoice Ninja, whether you’re a freelancer or small business owner. It covers how to automate your recurring billing, how to set up a professional client portal, and most importantly, how to stop paying the $6 a month you might be spending on something like QuickBooks. This tutorial should be all you need to get your first invoice sent today.
Note: this article may contain affiliate links, which means the author may earn a commission if you sign up through them, at no extra cost to you.
Setting Up Your Account
Company Settings
Once you’re signed up, you’ll be redirected to a dashboard. The first thing to do is go to the bottom left-hand corner and tap settings. This is where you’ll be able to add your company name, the VAT, your company website and other information. You can also tap on address and add the company address. You can select logo and add the company logo by tapping the upload option. After that, select defaults. From here, you can add your invoice terms, invoice footer information, quote terms, and so on. Whatever terms you would like to add, you can quickly add them there.
Payment Settings
Going to the left-hand menu once more, I recommend that you select payment settings. Then tap add payment gateway in the top right-hand corner. From here you can connect Stripe, you can connect PayPal, and there are other payment options you can quickly connect to offer your customers.
Tax Settings and Invoice Design
You can also tap on tax settings and edit them from there. Scroll down and tap on invoice design to change how your invoices look, with a few different options to choose from. You can edit the quote design the same way. Once you are finished, tap on save in the top right-hand corner to save the changes. You’ll only need to set this up once. With those settings done, it is time to add your first product.
Adding Products and Clients
Adding Your First Product
To add a product, go to the left-hand menu and select products. Then tap on new product in the top right-hand corner. Give your product a name. For example, let’s say my product is consultation, so I’ll simply type that in. You can add more details if you like, and then enter the price of your product. Scroll down and select the tax category. We’re going to change it from physical product to services, which you’ll find among the options there. You could also upload an image for your product. Once you’re finished, tap on save in the top right-hand corner. And just like that, you have created your product.
Adding Your First Client
The next thing you’ll need to do is add your first client. Tap on clients from the left-hand menu, then tap on new client. Input the client name. For example, let’s say my client will be Jason Morris. You can add a number, say client number five. Scrolling down, you can assign a particular user if you’ve added different users on Invoice Ninja. You can add their website and phone number, along with other information further down. You can also add the client email address by tapping on email. Once you’re finished, tap on save and just like that you have created your first client.
Creating and Sending an Invoice
Creating an Invoice
After creating your client, let’s say you would like to create an invoice. Go to the left-hand menu, tap on invoice, then tap on new invoice and select the client that you would like to send the invoice to. Next, select the invoice date. We’ll leave it at today. Then select the due date. Let’s say it will be due Thursday. You can also choose whether you would like to accept partial or deposit payments. After that, you can add an invoice number manually or leave it at autogenerate. If you’ll be offering a discount, select the amount that you would like to offer. Then add the product by tapping there and choosing it. After choosing the product, enter the quantity.
Scrolling down, you can add any public note that you would like to share with the client. You can also tap on terms and add your terms and conditions from there. Once everything is to your liking, you can see how it will look by scrolling down. When it all looks good, simply tap on save.
Sending the Invoice
After saving it, I recommend that you send it next. To do that, tap on the drop-down arrow. From here, you can choose to email the invoice, print a PDF, or download it if you want.
The Client Portal
You can also tap on client portal to view the portal that your clients will see. The client portal can help your business look a lot more professional, and it can make you look like a Fortune 500 company. When your client gets the email, they don’t just get a PDF, they get a link to a client portal. They can see their full payment history by going to the left-hand menu. They can also tap on documents and sign the document if they want. Using Docuninja, they’ll also be able to pay with one click.
Documents, Activity, and Marking Paid
If you would like to add a document for a particular invoice, tap on documents and add it there. You can also monitor the activity by selecting activity. Once the client has paid, all you need to do is tap on the same drop-down menu. From there, you will see the option mark paid. Tap there, and you can also scroll down and enter a payment amount.
Recurring Invoices
Setting Up a Recurring Invoice
To send a recurring invoice using Invoice Ninja, tap on recurring invoices, then tap on new recurring invoice. Choose the client, and after that you can select the frequency. Let’s say weekly. From there you can select the start date and when the cycle will end. Or if you would like to leave it up to the client to end it, you can select endless. Then you can choose a due date using payment terms. For example, let’s say the payment will be due on day one, so we’ll select day one.
Auto Bill and Sending
After that, you’ll see auto bill, which you can enable. Once it’s enabled, scroll down and add the product or service. Again, you can add your public notes, terms and conditions and so on. Then tap on save in the top right-hand corner. After saving, you can share the invoice by tapping there and sending it now. In the future, you could also update the pricing, and if you would like to add a comment, you can do that too.
Other Invoice Ninja Features
Quotes, Credit Notes, and Projects
Invoice Ninja is much more than just an invoicing platform. From the left-hand menu you can create quotes and credit notes. You can also create projects by selecting projects, tapping on new project, and giving the project a name, the client and so on. You can even assign it to a particular team member. There are numerous options to explore.
Tasks, Vendors, Expenses, and Reports
You can tap on task, which is where you’ll be able to collaborate with different team members and monitor tasks. You can also add your vendors and set up purchase orders. You can monitor your expenses and your recurring expenses, and you can